This guide will walk you through how to host a 7 Days to Die server on Linux
Requirements
- 7 Days to Die - [steampowered.com]
- 7 Days to Die Dedicated Server - [steampowered.com]
Documentation
- 7 Days to Die Dedicated Server - Valve Developer Community - [developer.valvesoftware.com]
- Server - 7 Days to Die Wiki - [7daystodie.fandom.com]
Prefer to watch a video?
Server
For this to work, we will be using SteamCMD - here’s how to set it up. We will be using Ubuntu Server 24.04 for this portion of the guide. From your terminal, enter these commands - to install SteamCMD, the multiverse repository and x86 packages must be enabled.
Ubuntu
sudo add-apt-repository multiverse; sudo dpkg --add-architecture i386; sudo apt update
sudo apt install steamcmd
Debian
sudo apt update; sudo apt install software-properties-common; sudo apt-add-repository non-free; sudo dpkg --add-architecture i386; sudo apt update
sudo apt install steamcmd
Setup
You need a place to store the server - create a new directory, for example 7daystodie
mkdir ~/7daystodie
Start installing the server from SteamCMD using this command:
/usr/games/steamcmd +force_install_dir ~/7daystodie +login anonymous +app_update 294420 validate +quit
This will tell SteamCMD to start installing the 7 Days to Die server inside of ~/7daystodie.
If you get
ERROR! Failed to install app '294420' (Missing configuration), you should try adding+@sSteamCmdForcePlatformType linuxto the command:
/usr/games/steamcmd +@sSteamCmdForcePlatformType linux +force_install_dir ~/7daystodie +login anonymous +app_update 294420 validate +quit
Starting the server
Start by navigating to ~/7daystodie by using cd ~/7daystodie. In here, you will see a bunch of files and folders, and two really important files:
startserver.shserverconfig.xml
playit@server:~/7daystodie$ ls
7DaysToDieServer_Data    Data            Licenses  Mods          serverconfig.xml  steam_appid.txt  steamclient.so
7DaysToDieServer.x86_64  libstdc++.so.6  Logos     platform.cfg  startserver.sh    steamapps        UnityPlayer.so
To start the server, you must run startserver.sh and tell it to use serverconfig.xml.
./startserver.sh -configfile=serverconfig.xml
To view the logs, you can look for stuff like output_log__2026-04-22__05-11-36.txt. To do this, you can use tail:
playit@server:~/7daystodie$ tail -f output_log__2026-04-22__05-11-36.txt
2026-04-22T05:12:18 40.795 INF Loaded (local): videos in 0.01
2026-04-22T05:12:18 40.808 INF Loading players.xml
2026-04-22T05:12:18 40.828 INF createWorld: Navezgane, MyGame, GameModeSurvival
2026-04-22T05:12:18 40.830 INF Occlusion: Disabled
2026-04-22T05:12:18 40.831 INF Started thread ChunkRegeneration
2026-04-22T05:12:18 40.831 INF Started thread ChunkCalc
2026-04-22T05:12:18 40.838 INF Started thread ChunkMeshBake
2026-04-22T05:12:18 40.838 INF World.Load: Navezgane
2026-04-22T05:12:18 40.847 INF BloodMoon SetDay: day 7, last day 0, freq 7, range 0
2026-04-22T05:12:18 40.864 INF Started thread WaterSimulationApplyChanges
2026-04-22T05:12:31 54.247 INF Started thread GenerateChunks
2026-04-22T05:12:33 55.670 INF Calculating world hashes took 1422 ms (world size 193 MiB)
2026-04-22T05:12:33 55.670 INF Initial ENABLE_FILE_BACKED_ARRAYS == False
2026-04-22T05:12:33 55.885 INF GenWorldFromRaw load dtm took 1637ms
2026-04-22T05:12:33 56.054 INF Biomes image size w= 3072, h = 3072
2026-04-22T05:12:34 56.494 INF GenWorldFromRaw biomes took 608ms
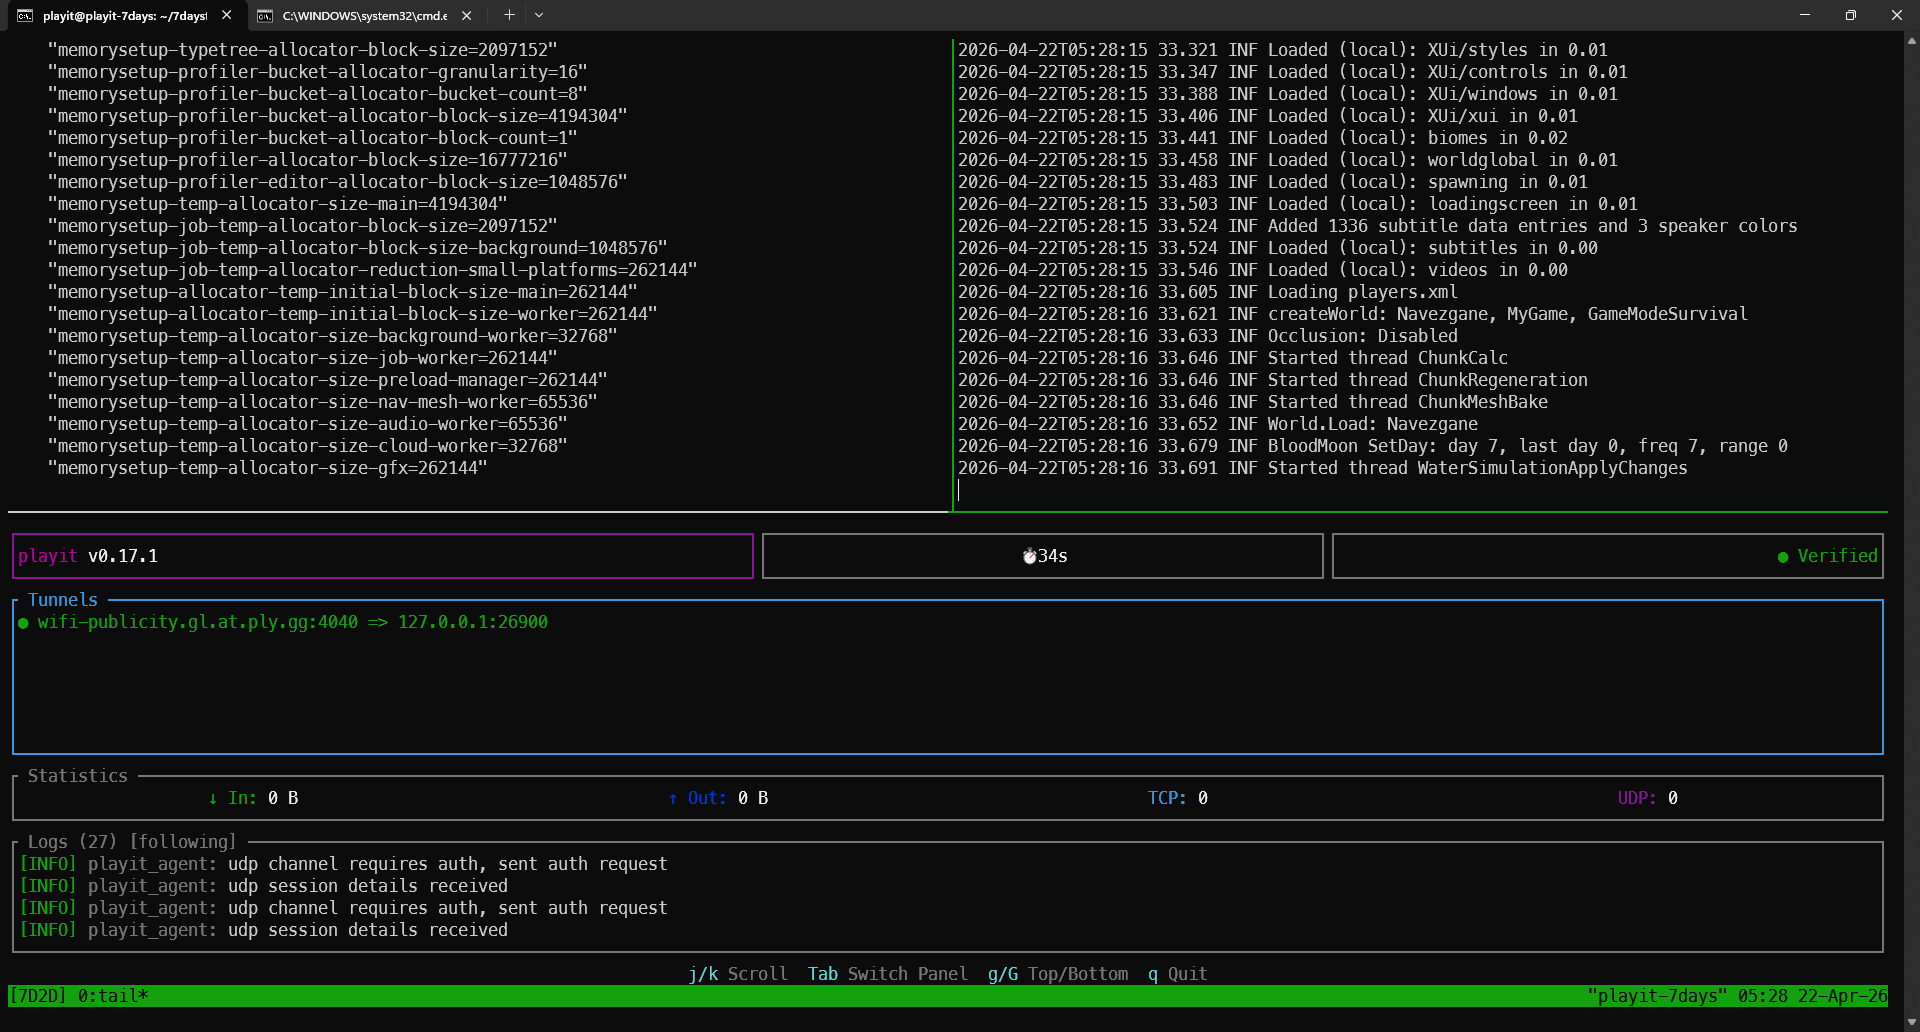
If you would like to view logs in real time while running the server, you can use something like tmux or screen to “split” the terminal. Here’s an example command to make the terminal look like this:
tmux new-session -s "7D2D" "cd ~/7daystodie && ./startserver.sh -configfile=serverconfig.xml; bash" \; \
split-window -v "playit" \; \
select-pane -t 0 \; \
split-window -h "tail -f \$(ls -t ~/7daystodie/output_log__*.txt | head -n 1)"
It has the server executable on the left, the logs on the right, and it starts playit at the bottom.
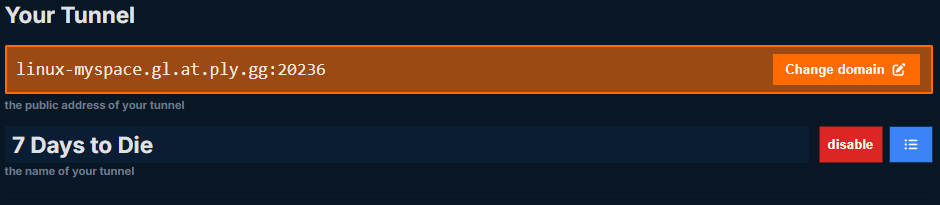
Creating a tunnel
This server uses
UDP 26900-26903, which means that all users can create this tunnel type.
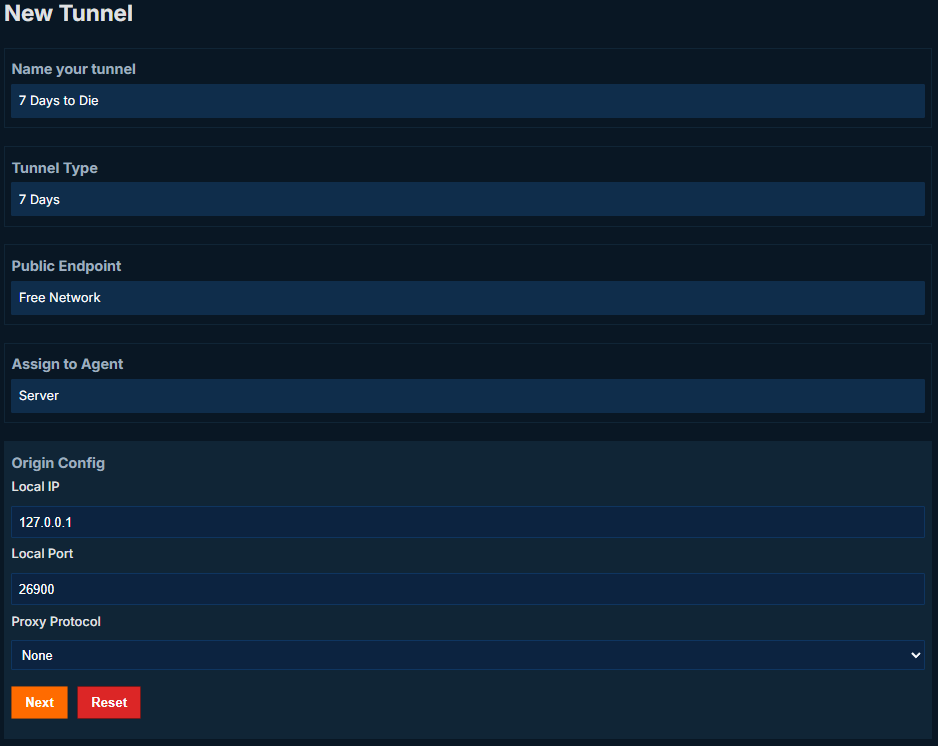
Set up the tunnel as follows:
Tunnel Type: 7 Days
Local IP: 127.0.0.1
Local Port: 26900
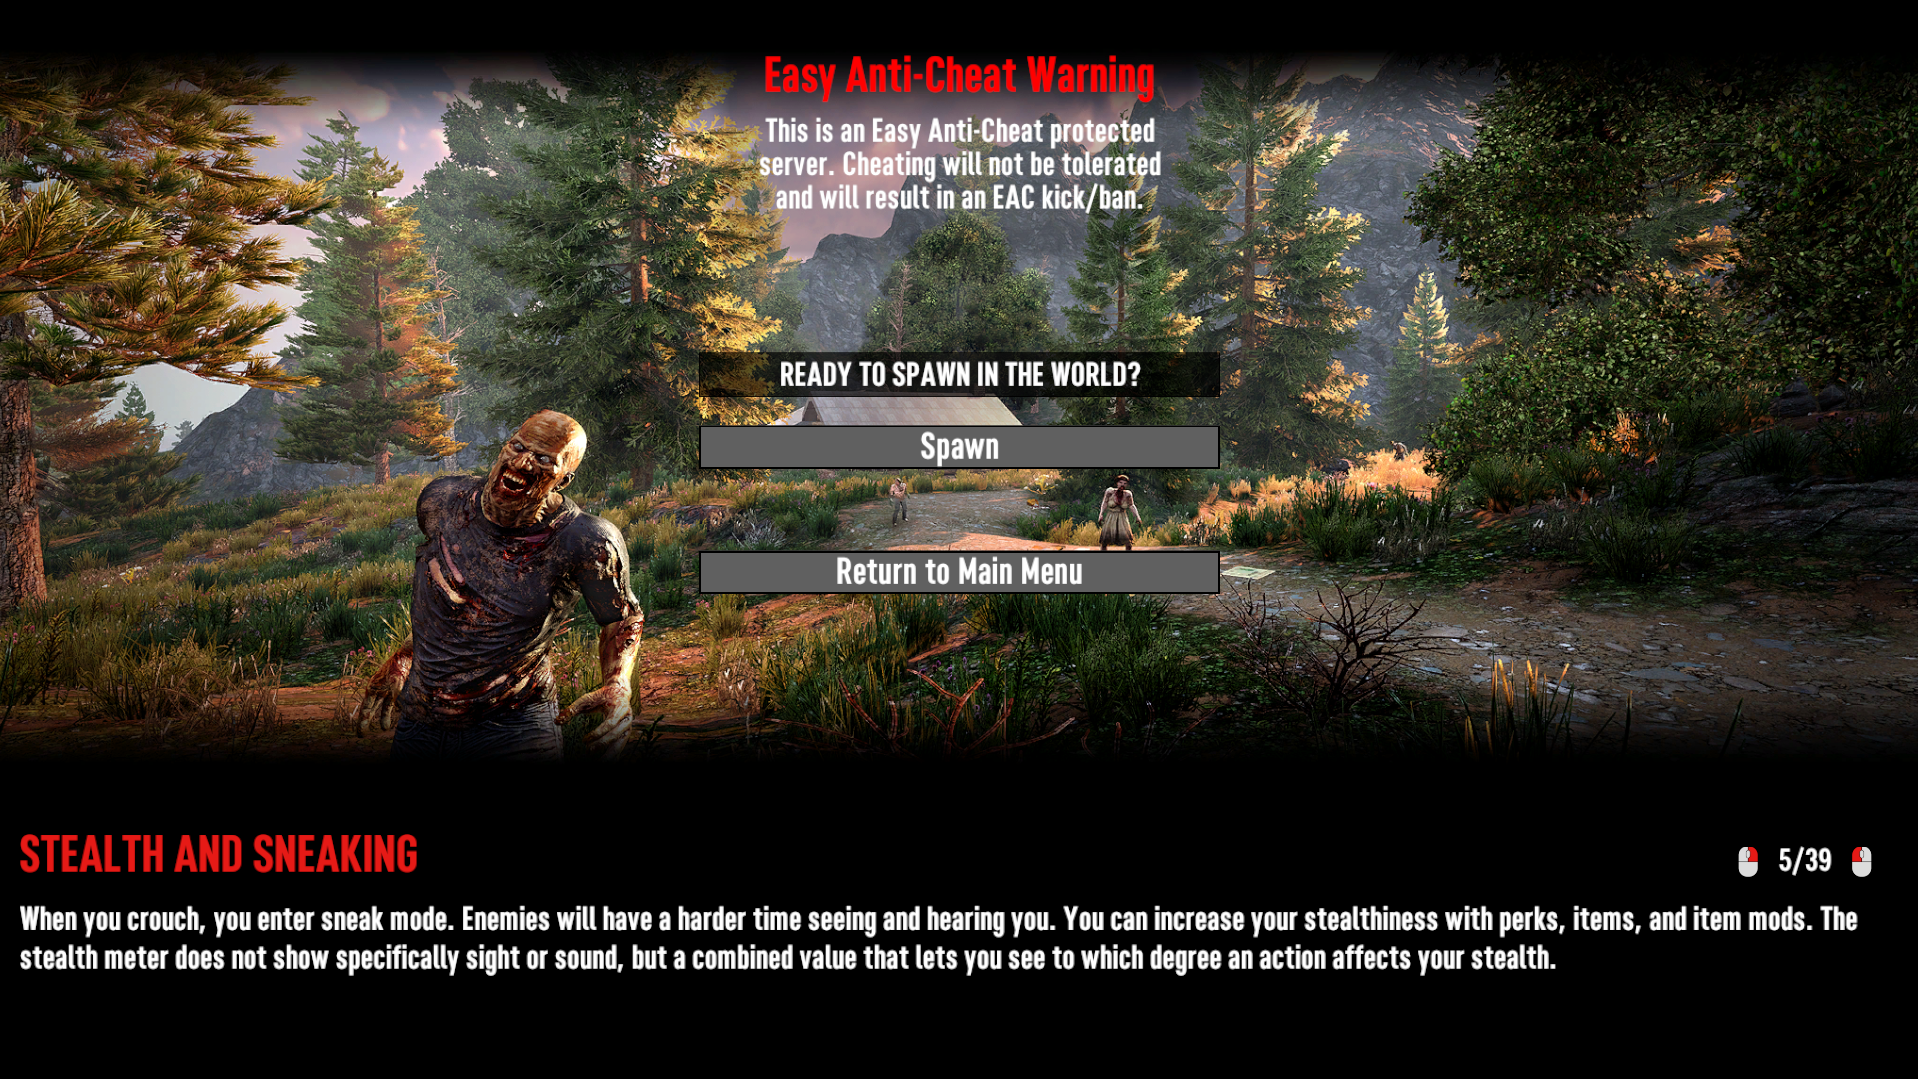
Joining the server
Inside of the game, go to Join A Game > Connect To IP... and then enter the tunnel information provided by playit. You can use either the hostname or the IP address and port to connect.
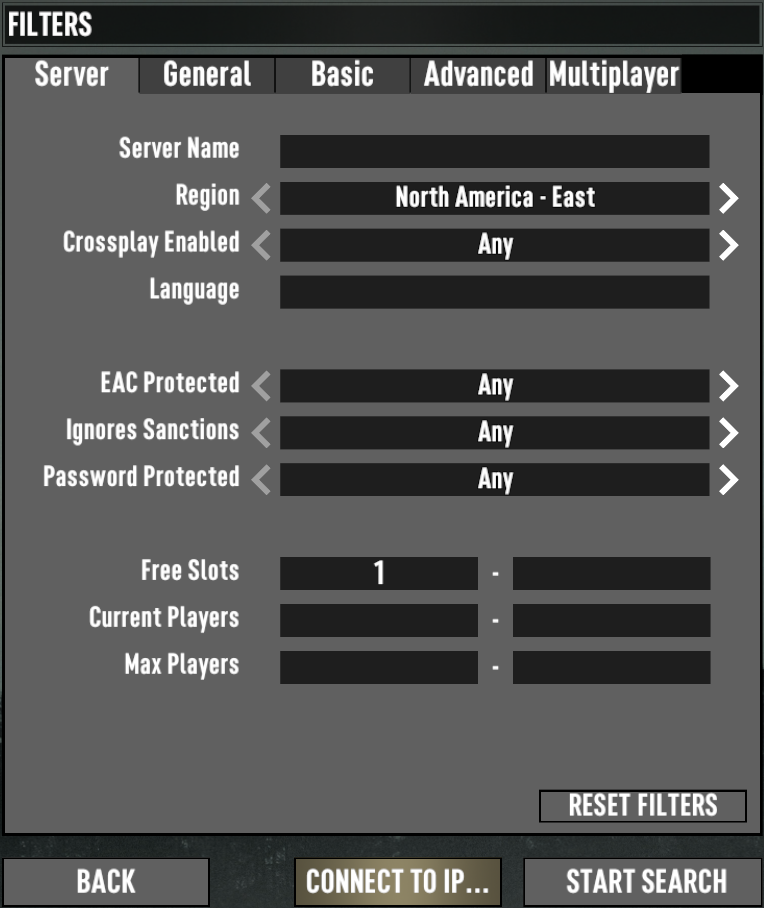
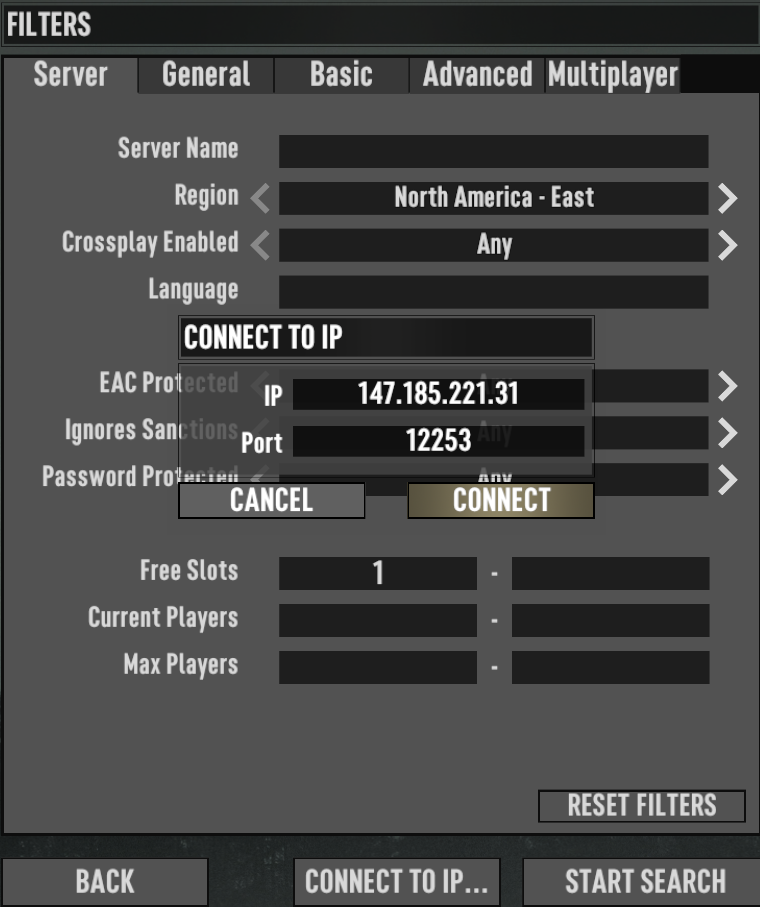
If your server and tunnel have been successfully configured, you should see this screen.